Final Woodworking Project
You may build anything you want, but you should have proof that you worked on this final project for twenty or more hours start to finish. You will have to show that you worked on your project for 5 consecutive weeks.
You do not have to build something big, but it does have to be built well.
Your project will count 36 grades = 3600 points.
The final project alone will be 1500 points + 1900 points for planning listed in the checklist below.
Project Checklist = 1600 points include project approval, pre-sketch, cut list, board feet calculations, instructions link and instructions list.
Project Progress Check-ins (100 points per week for 3 weeks)= 300 pts
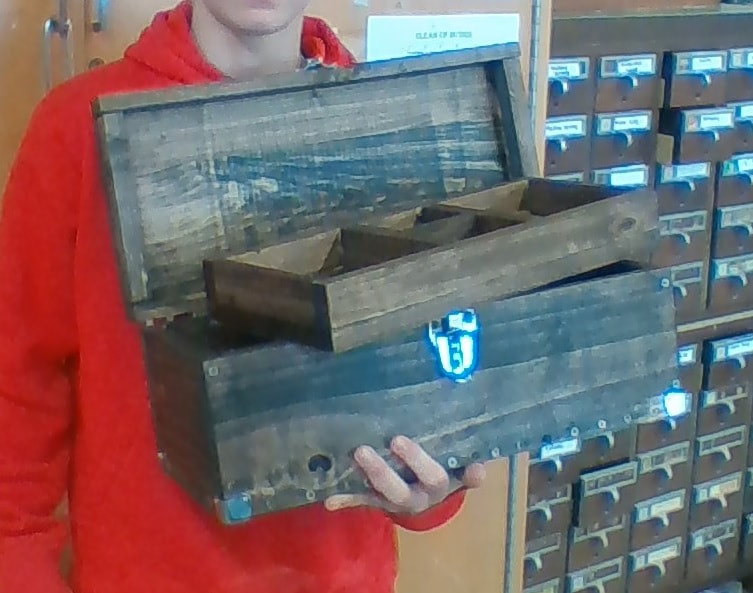
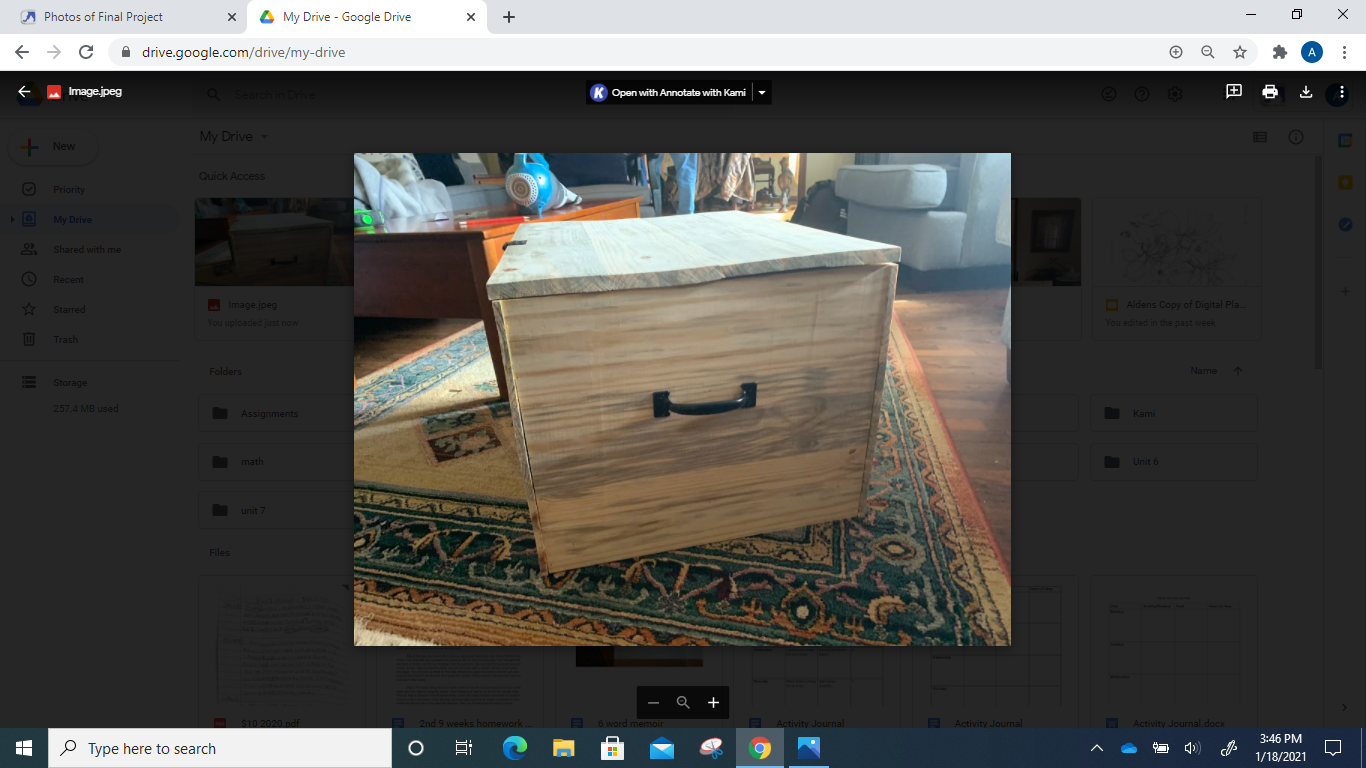
Project with 5 photos of completed project = 1500 points
You do not have to build something big, but it does have to be built well.
Your project will count 36 grades = 3600 points.
The final project alone will be 1500 points + 1900 points for planning listed in the checklist below.
Project Checklist = 1600 points include project approval, pre-sketch, cut list, board feet calculations, instructions link and instructions list.
Project Progress Check-ins (100 points per week for 3 weeks)= 300 pts
Project with 5 photos of completed project = 1500 points
Final Project Assessment Rubric
(This applies to the 1500 points for the project)
1. If a student finishes all steps of the following checklist and can prove they worked on their project for 20 hours or more, the lowest grade possible is a 91% A
2. Extra Credit is often awarded to exceptional COMPLETED projects.
3. If a project is assembled but is not finished (painted, stained, waxed, lacquered, etc.) the highest grade possible is an 89% B
4. If a student has constructed all the pieces of the project but the project is not assembled completely, the highest grade possible is a 75%
5. A student will be awarded a % grade for progress for any incomplete project. Example: If a student has worked roughly 7 hours on their project and completed 1/3 of their parts, a 500/1500 grade will be awarded.
Final Woodworking Project Checklist
1. Submitting a photo for approval (50 points)- Submit your photo for approval on Google Classroom or Canvas. You may not make a weapon or do anything controversial. Your project must also be able to fit out of a standard door. Explain how you plan to customize your project to make it unique to you.
2. Submit the web link to where you found your instructions (50 points)- This can be a link to printed instructions or a link to a YouTube video. Find instructions on how to make your project. I cannot teach how to make 50-80 different projects, but I can help you make ANYTHING. Teach yourself some, and I will help you along the way! Submit on Canvas.
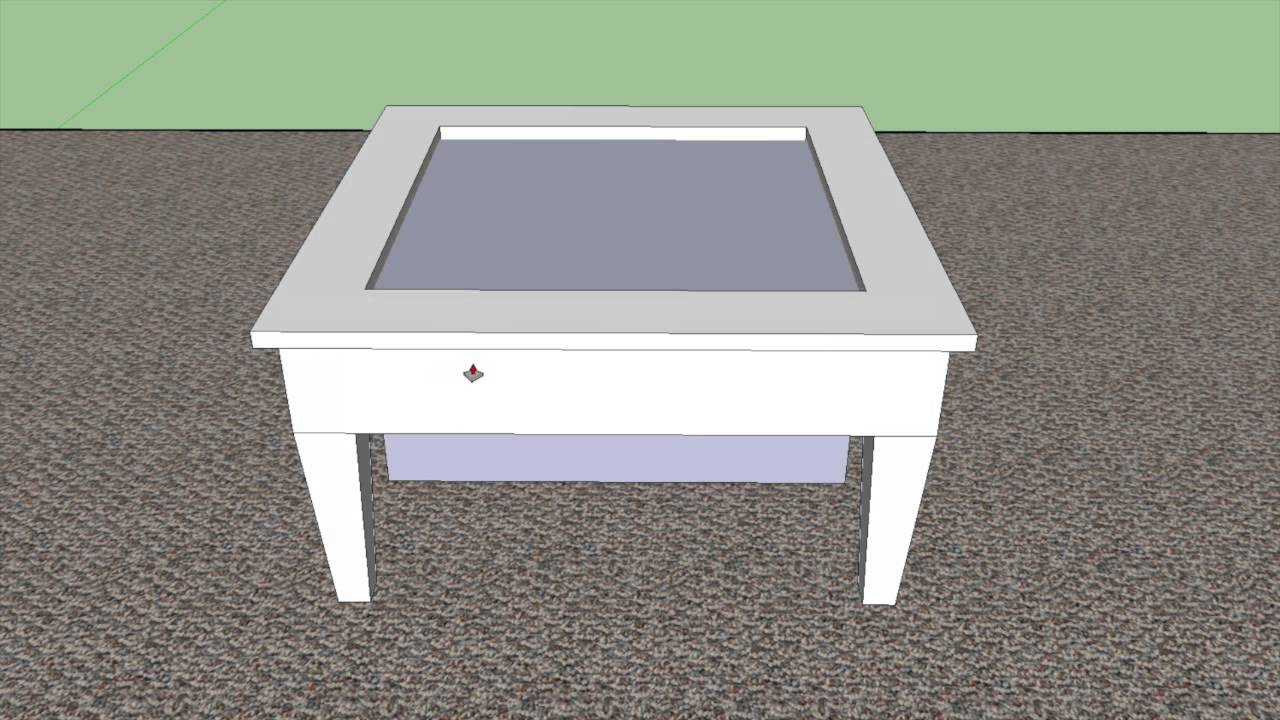
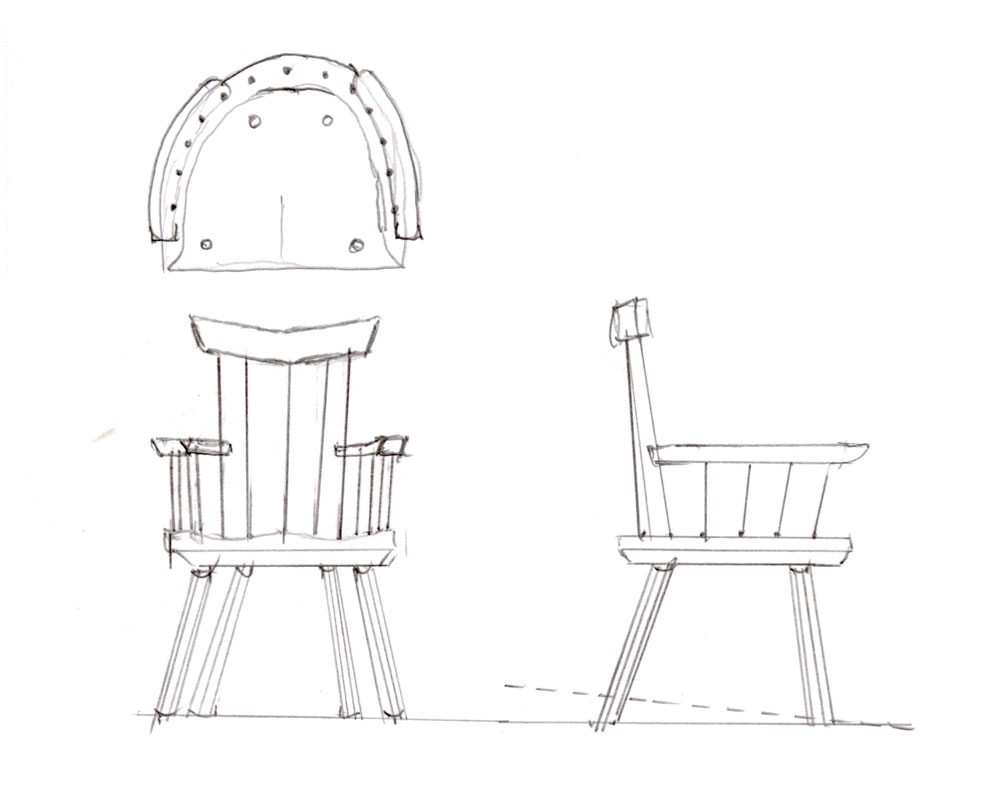
3. (200 points) Preliminary Sketch or Printing photos of at least 2 views of what you intend to build. You may hand draw a 3D image or use Google Sketchup. This sketch does not need measurements, BUT they would be helpful if you guestimate the size you want to make your project. Make sure you note how you are going to customize your project to make it unique to you.
Examples Photos Below. If you are not going to sketch your project, you need to print TWO copies of what you plan to build, and you need to explain in writing how you plan to customize your project. Your printings need to have multiple views and space to neatly draw your dimensions on the printed photos.
1. Submitting a photo for approval (50 points)- Submit your photo for approval on Google Classroom or Canvas. You may not make a weapon or do anything controversial. Your project must also be able to fit out of a standard door. Explain how you plan to customize your project to make it unique to you.
2. Submit the web link to where you found your instructions (50 points)- This can be a link to printed instructions or a link to a YouTube video. Find instructions on how to make your project. I cannot teach how to make 50-80 different projects, but I can help you make ANYTHING. Teach yourself some, and I will help you along the way! Submit on Canvas.
3. (200 points) Preliminary Sketch or Printing photos of at least 2 views of what you intend to build. You may hand draw a 3D image or use Google Sketchup. This sketch does not need measurements, BUT they would be helpful if you guestimate the size you want to make your project. Make sure you note how you are going to customize your project to make it unique to you.
Examples Photos Below. If you are not going to sketch your project, you need to print TWO copies of what you plan to build, and you need to explain in writing how you plan to customize your project. Your printings need to have multiple views and space to neatly draw your dimensions on the printed photos.
4. (400 points) Exploded View with all measurements and a cut list. Exploded view means you must show each piece of your project. You may hand draw a 3D image (USING A RULER) or use Google Sketchup. Examples Below. Your cut list will help you with step 3, calculating the cost of your project. Every piece has to have all measurements and the units you are using ('=feet, " = inches). Do this so I may help you make parts for your project.
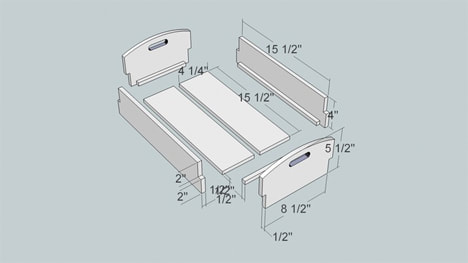
|
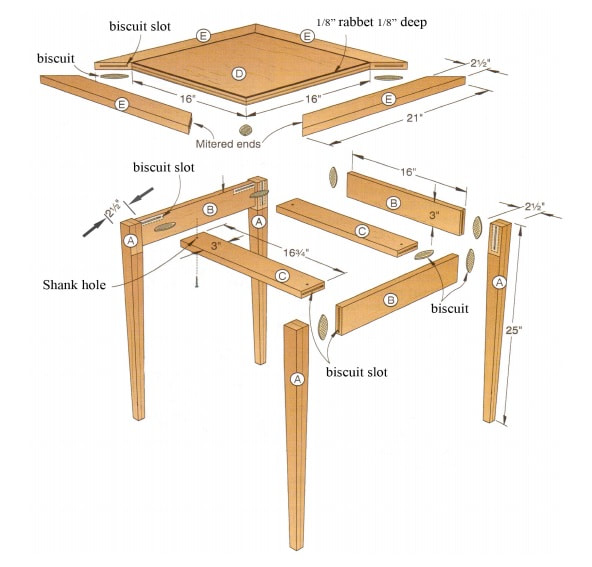
|
5. (400 points) Instructions List. You will create an instructions list for how to make your final project. Very similar to a recipe when cooking! Your instructions should be good enough that anyone could make EXACTLY what you made for your final.
Requirements
*You need a minimum of 15 steps with 15 pictures for your instructions.
* The first photo should show what the assembled project should look like
*You must include specific measurements in each step requiring a cut. (Example: Step 4. Cut four pieces to 14". Do not write "cut four pieces of wood")
*Fill out the top part of the template. Include final dimensions and links to instructions.
Example of a finished instruction list below.
Additional examples of commercial plans on the button links below. The simplest way to complete this assignment is to find a YouTube video that makes a project similar to what you want to create. Stop the video and use the Snipping Tool to cut and paste still video images into your instructions template. Then explain what is happening and include custom measurements that make your project special to you.
| river_table_instructions_-_cornwell.pdf |
6. (400 points) Board Feet Calculations and Supply list. Create a typed list of each part of your final project and show calculations of board feet and a list of any other material and its cost on this list. Example packet we did in class.
| board.feet.packet.pdf |
7. (100 points) Research and Explanation on how you are finishing your project. Create a typed description on how you plan to finish your project. Include at least two photos of examples of your chosen finish. (You can use shellac, stain, polyurethane, lacquer, paint, etc. or any other finish you desire). Explain how you will properly apply this finish in 100 words or more and submit.
8. (300 points) Participation Grades/Project Check-ins- Each week, for 3 weeks, you will be graded on your progress. You will be given 100 points each week for participation. No quality woodworking project can be produced if you procrastinate!
9. (200 points) Task Management Review- You will compare how long you expected your project to take and how long the process actually took. You will describe the obstacles along the way.
10. (1500 points) Final Project Grading Rubric and 5 quality photos of your completed project.- You must be in at least one of these photos.
| final.project.grading.rubric.pdf |
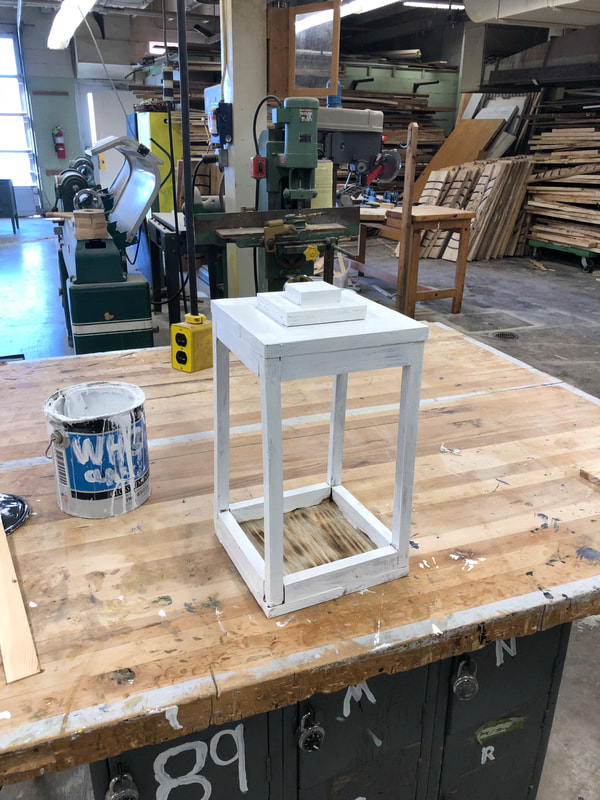
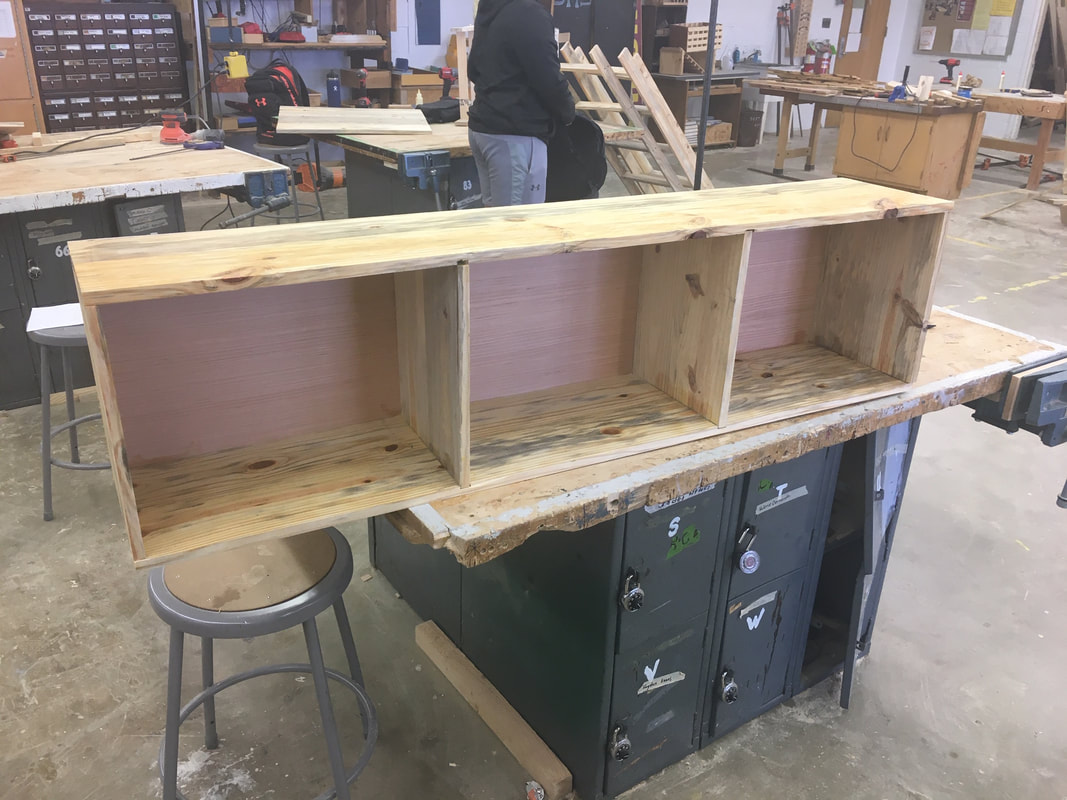
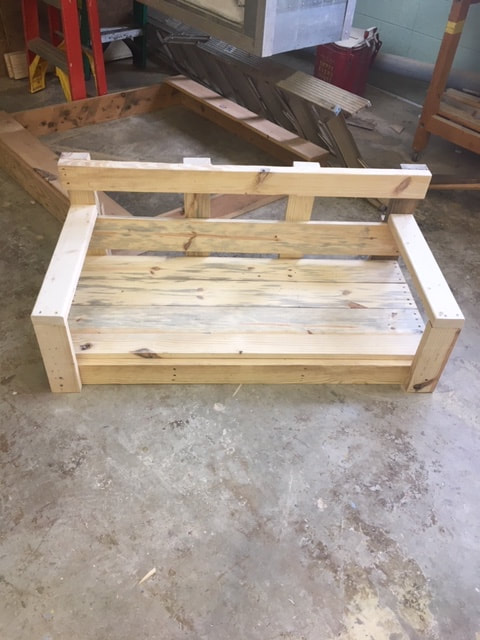
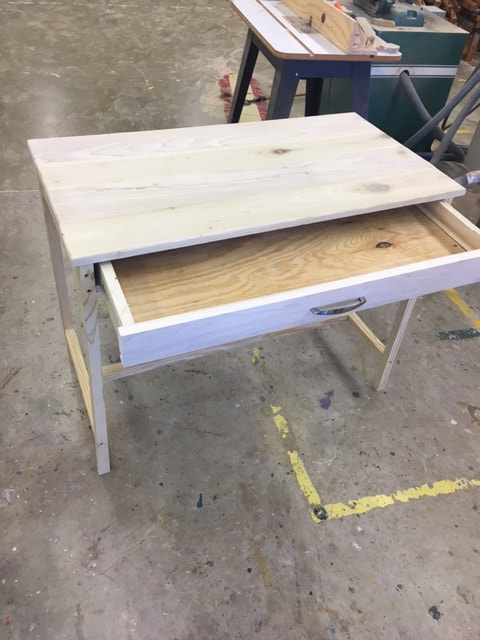
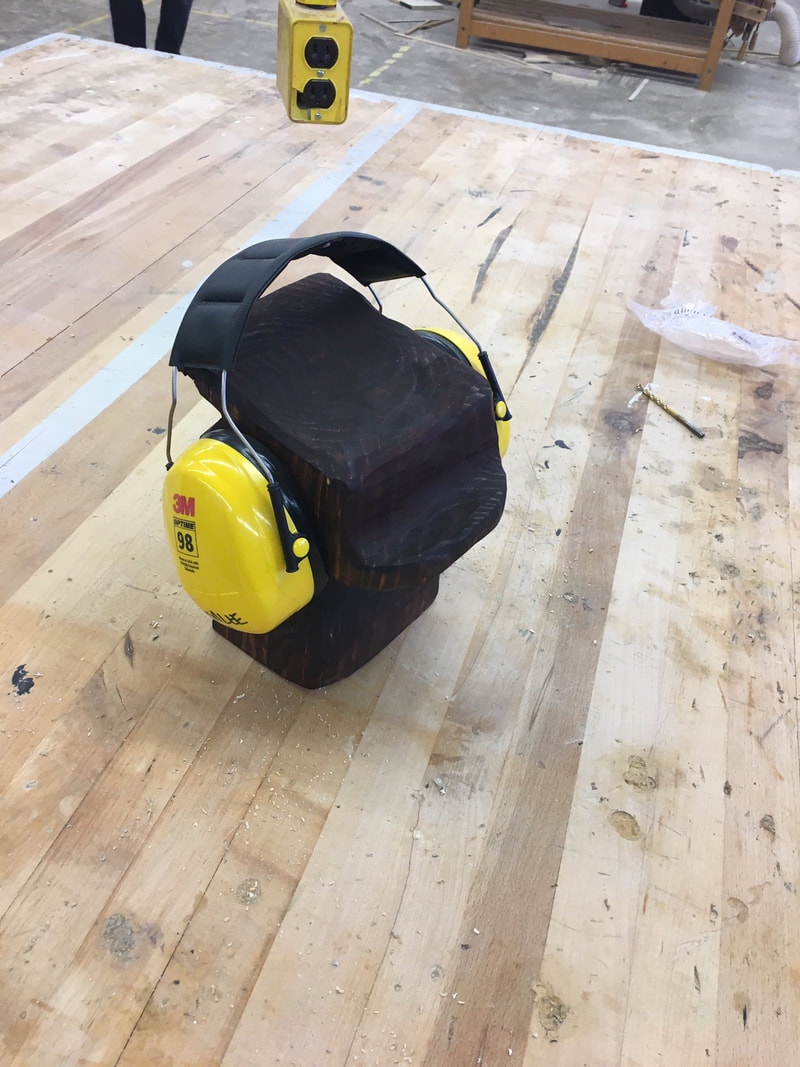
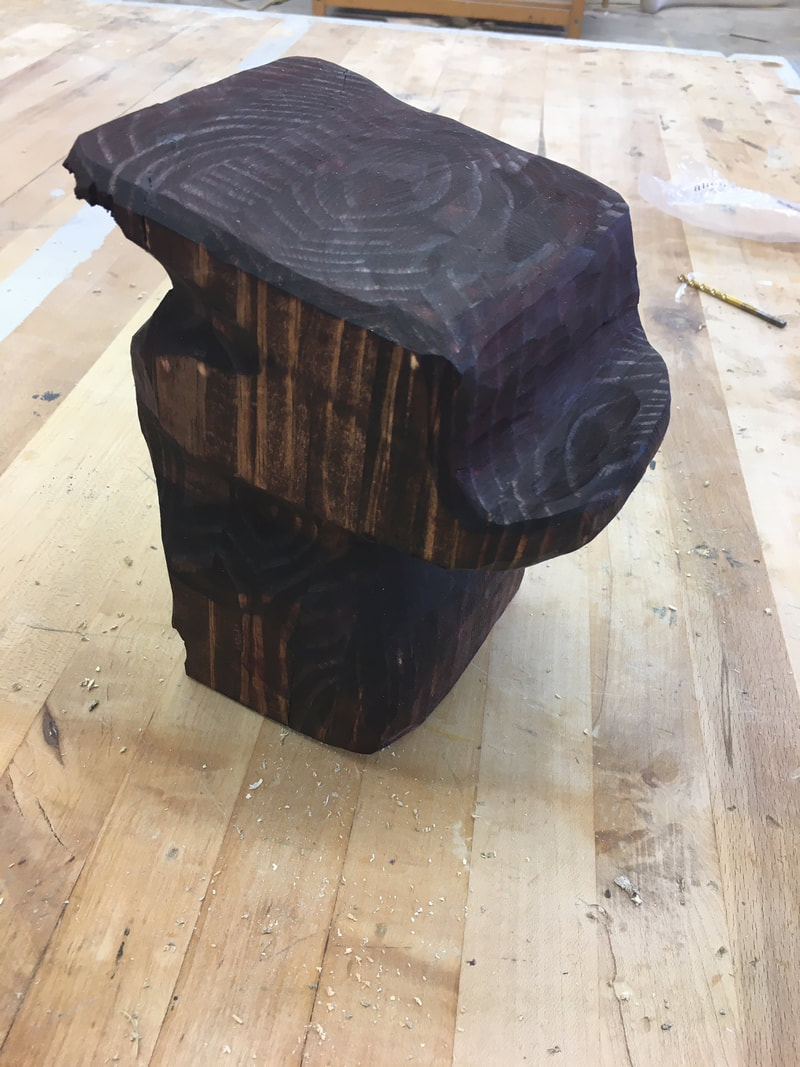
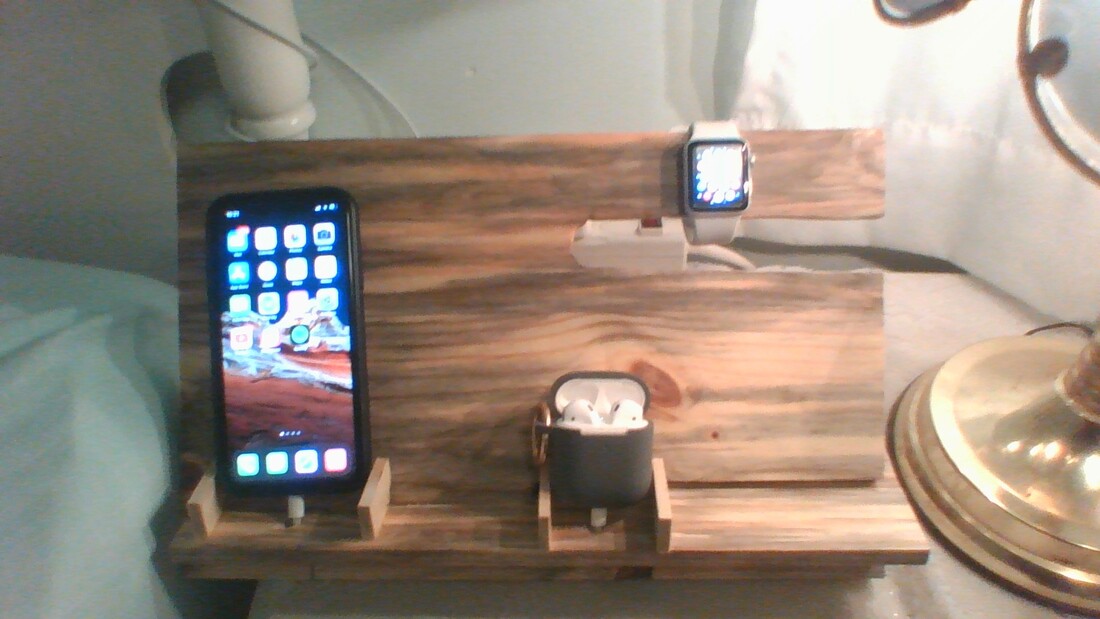
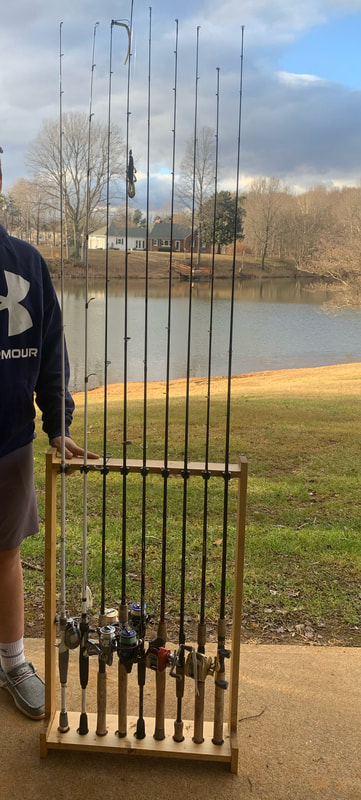
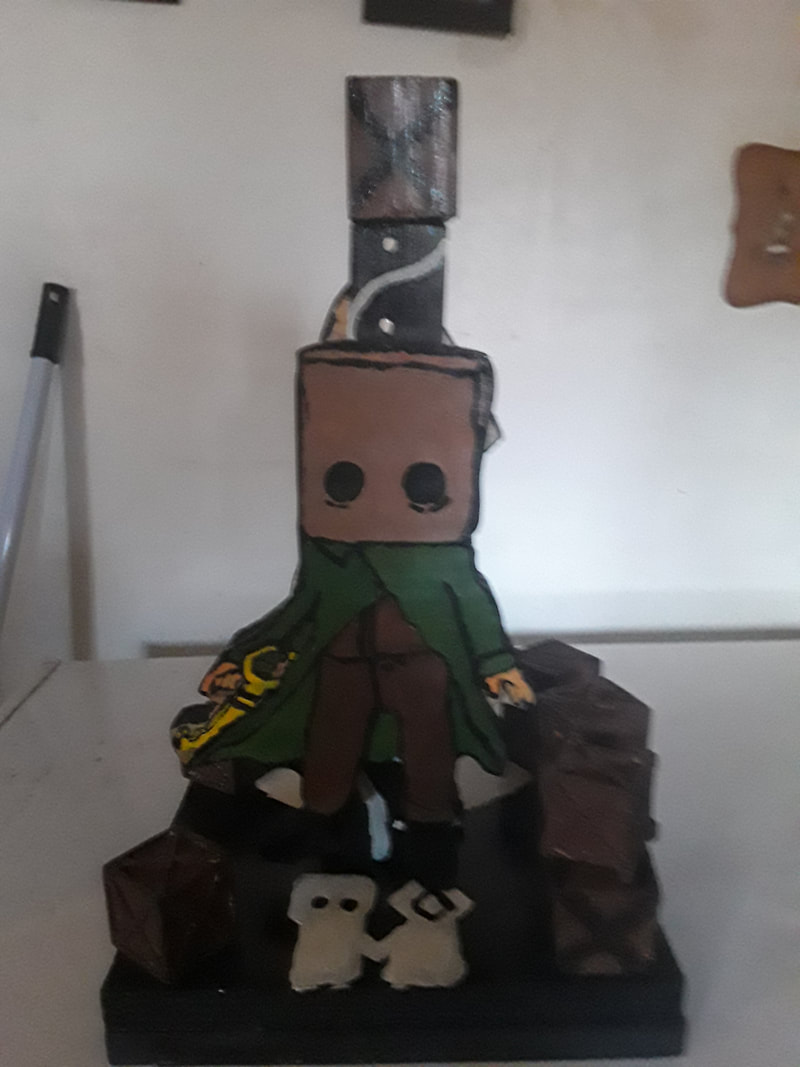
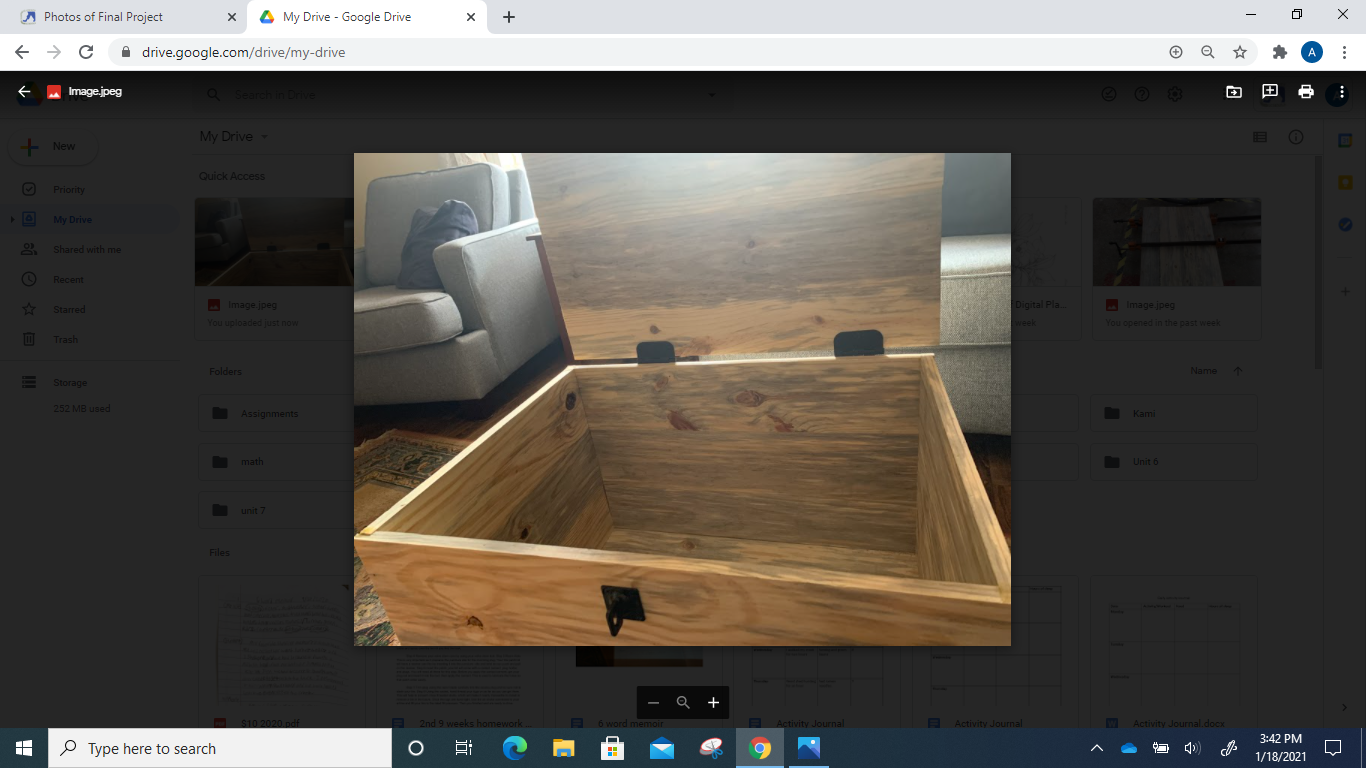
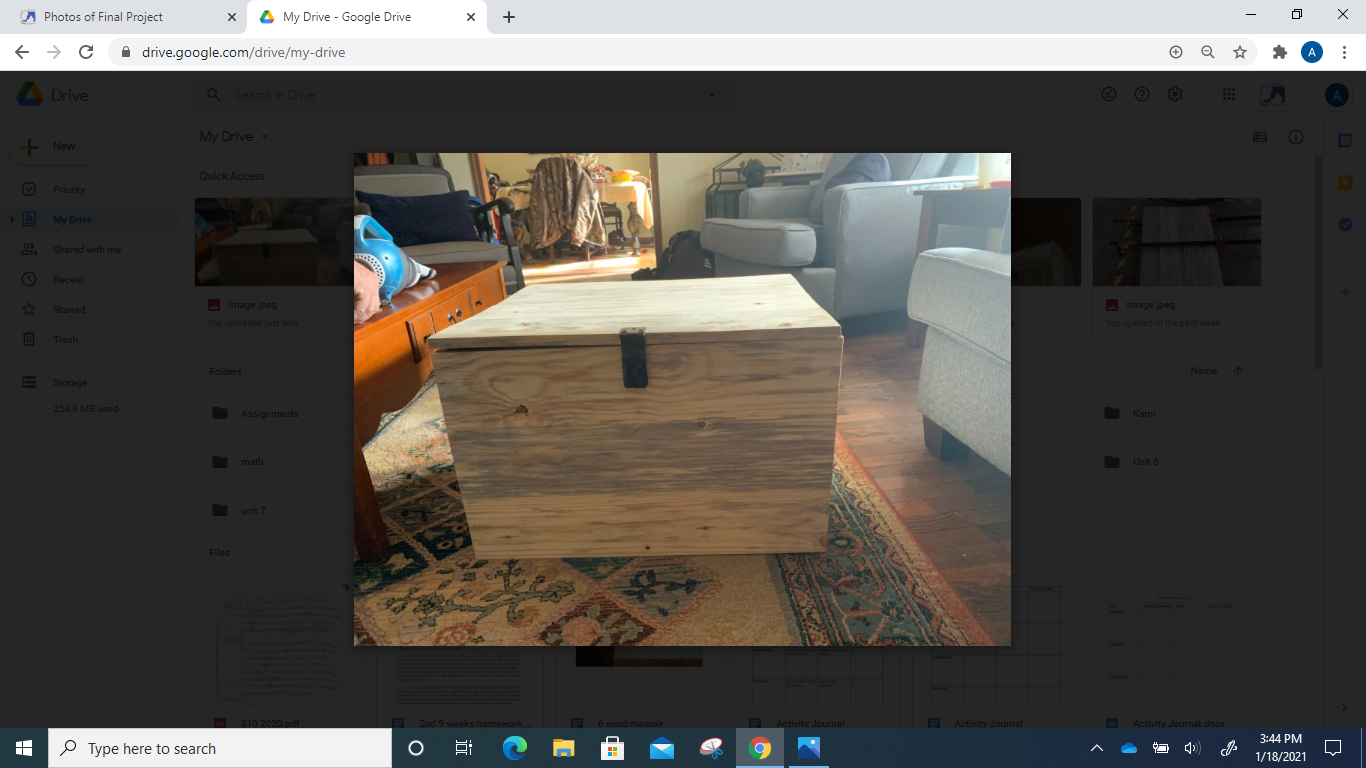
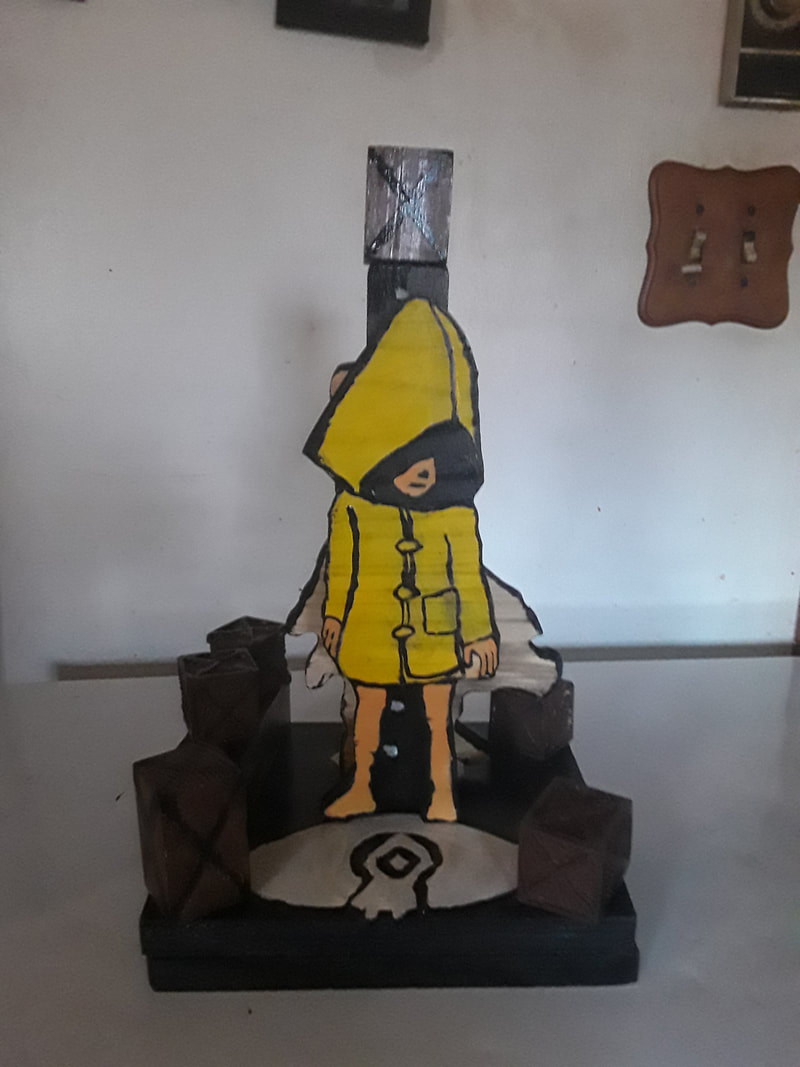
Awesome Examples of Final Projects.