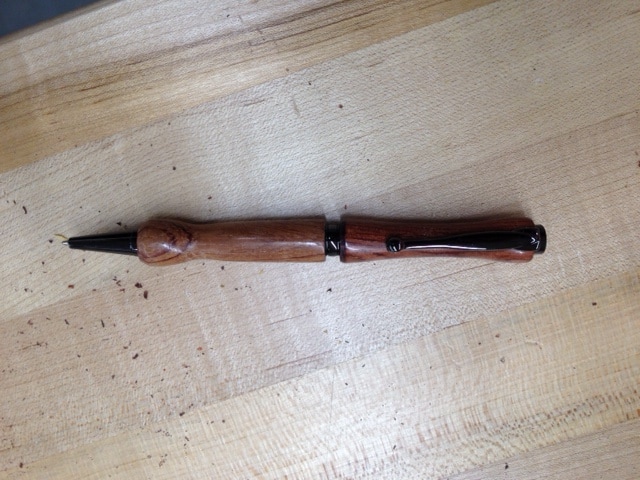
Wooden Ink Pens
Steps to make a wooden ink pen
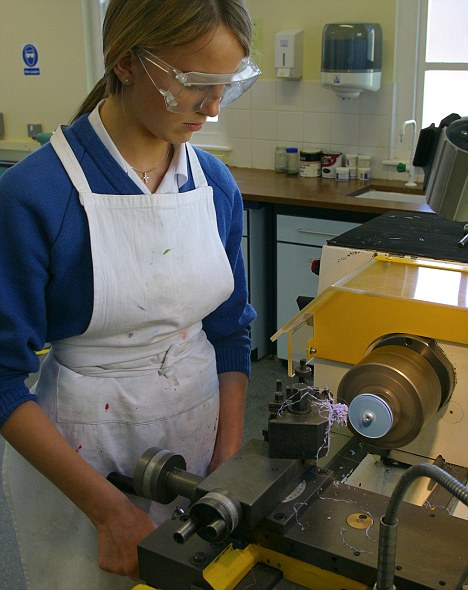
1. Putting on safety glasses
2. Putting wooden blanks on mandrel and tightening nut so that the blanks don't turn freely.
3. Tightening the tailstock
4. Adjusting tool rest
5. Rounding with a gouge or skew.
6. Tapering ends.
7. Removing tool rest.
8. Sanding with 100 grit sandpaper
9. Sanding with 220 grit sandpaper
10. Sanding with 400+ grit sandpaper
11. Applying 3 coats of polish (flip blanks 180 degrees so they are polished in both directions.)
12. Waxing blanks.
13. Buffing wax to a shine
14. Making sure all spacers and tightening nut is back on mandrel for the next class to use.
15. Cleaning up sawdust and tools
16. Assembly with teacher present
| ink.pen.notes.pdf |